Wall sticker application instructions
1.) Application instructions for stickers | without transfer film
Our wall stickers are quick and easy to apply and do not have or require a transfer film.


1. Prepare the wall
Make sure the wall is clean, dry, and free of grease and dust.


2. Crop the motif
Peel the sticker from the backing film and apply it to the wall. Rub the sticker firmly into place. We recommend using a soft cloth to avoid scratching the surface.


3. Rub the edges
Once the motif is on the wall, check the edges again and, if necessary, rub it in with your finger. Optionally, you can gently increase the adhesive strength with a hairdryer and rub it in again.
2.) Application instructions for stickers | with transfer film
For optimal, quick, and secure application of our wall decals. Please note that larger wall decals should not be applied alone.
Clarification of terms
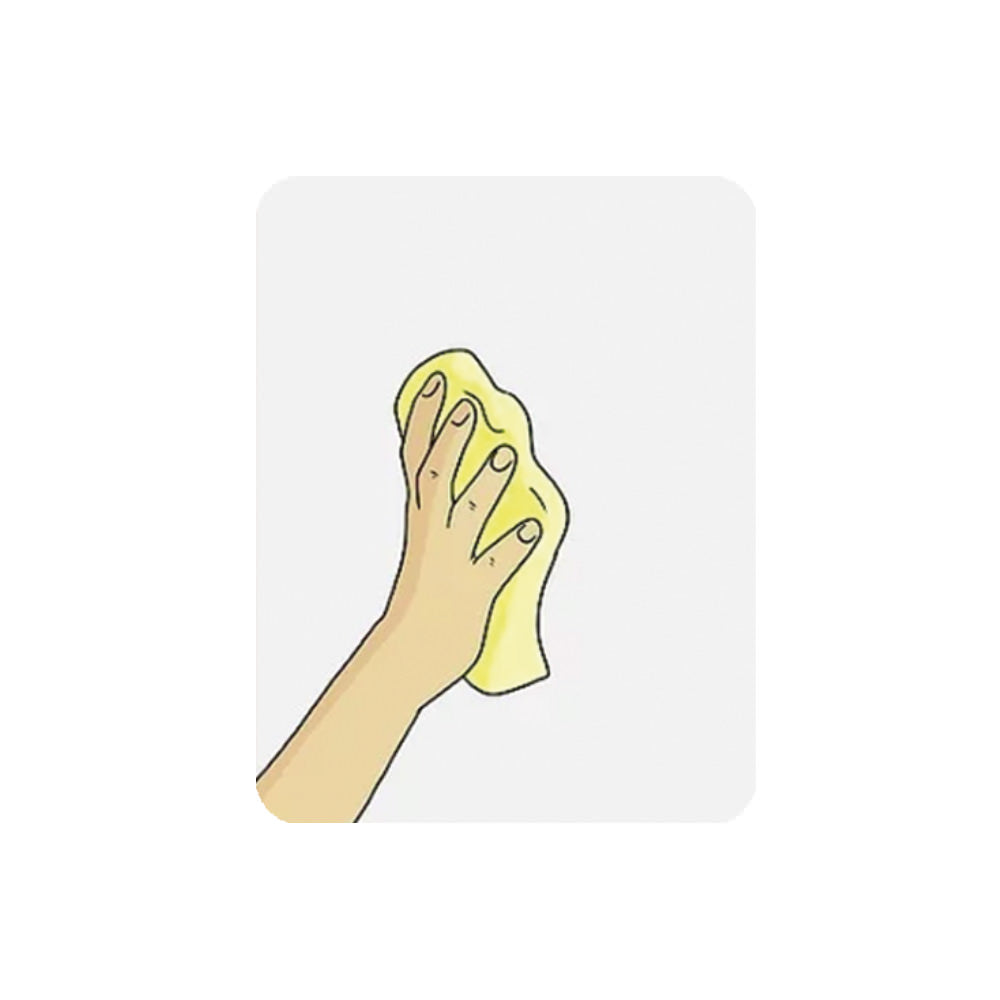
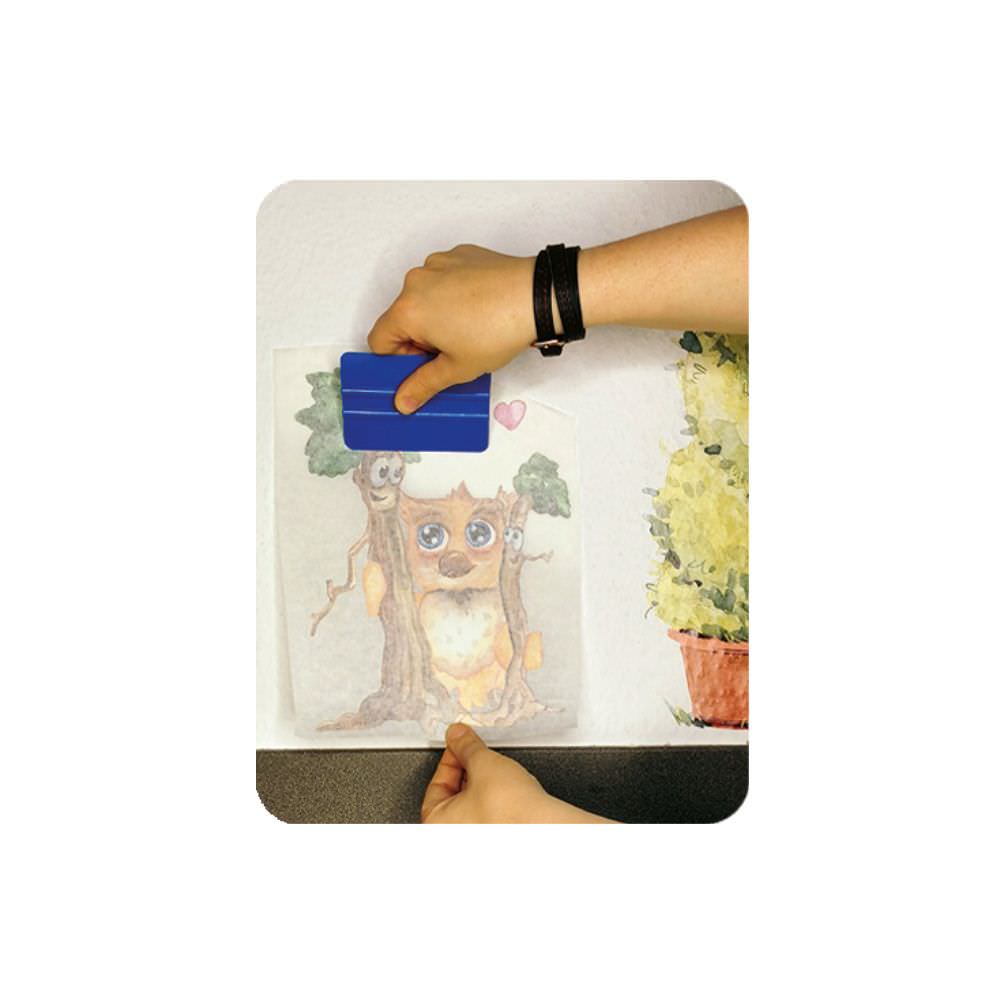
The backing film (also called backing paper) is the lower protective layer of the wall decal. It sits beneath the motif and protects the adhesive side . Before applying the decal, carefully peel the decal and transfer film off the backing film.
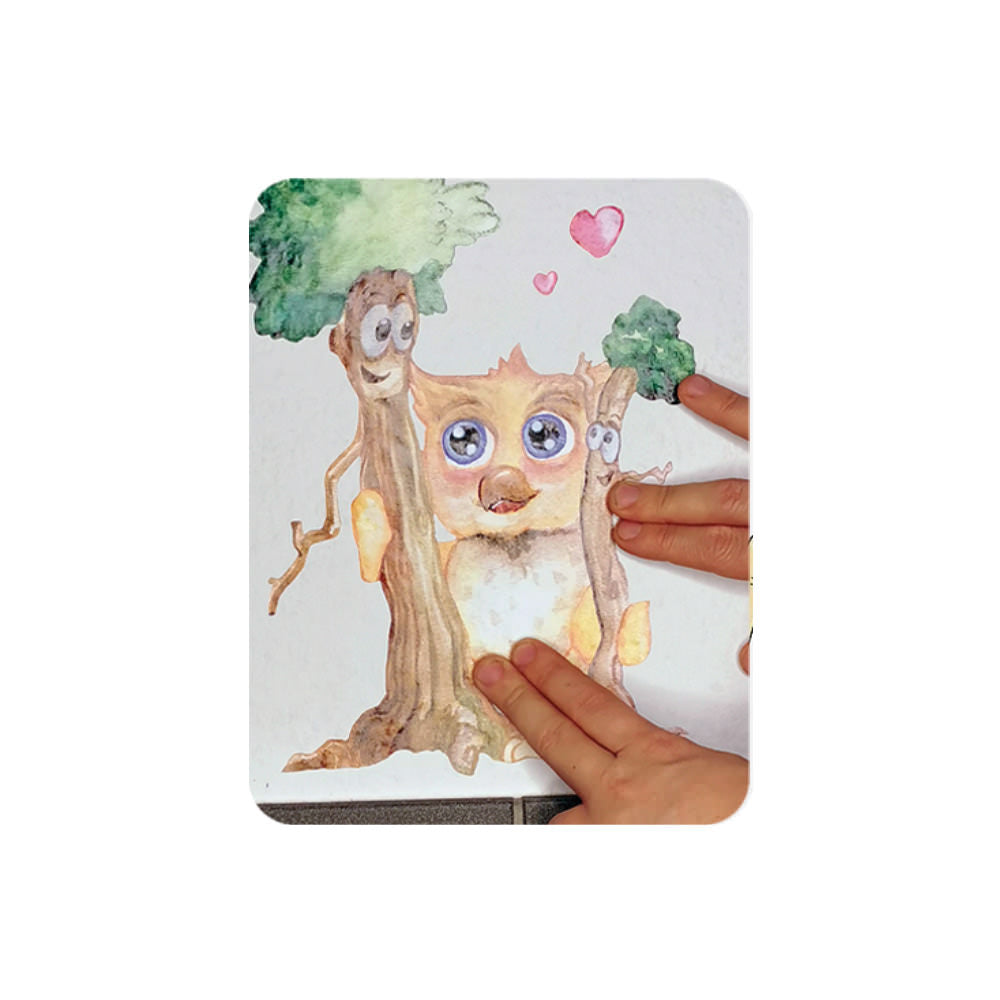
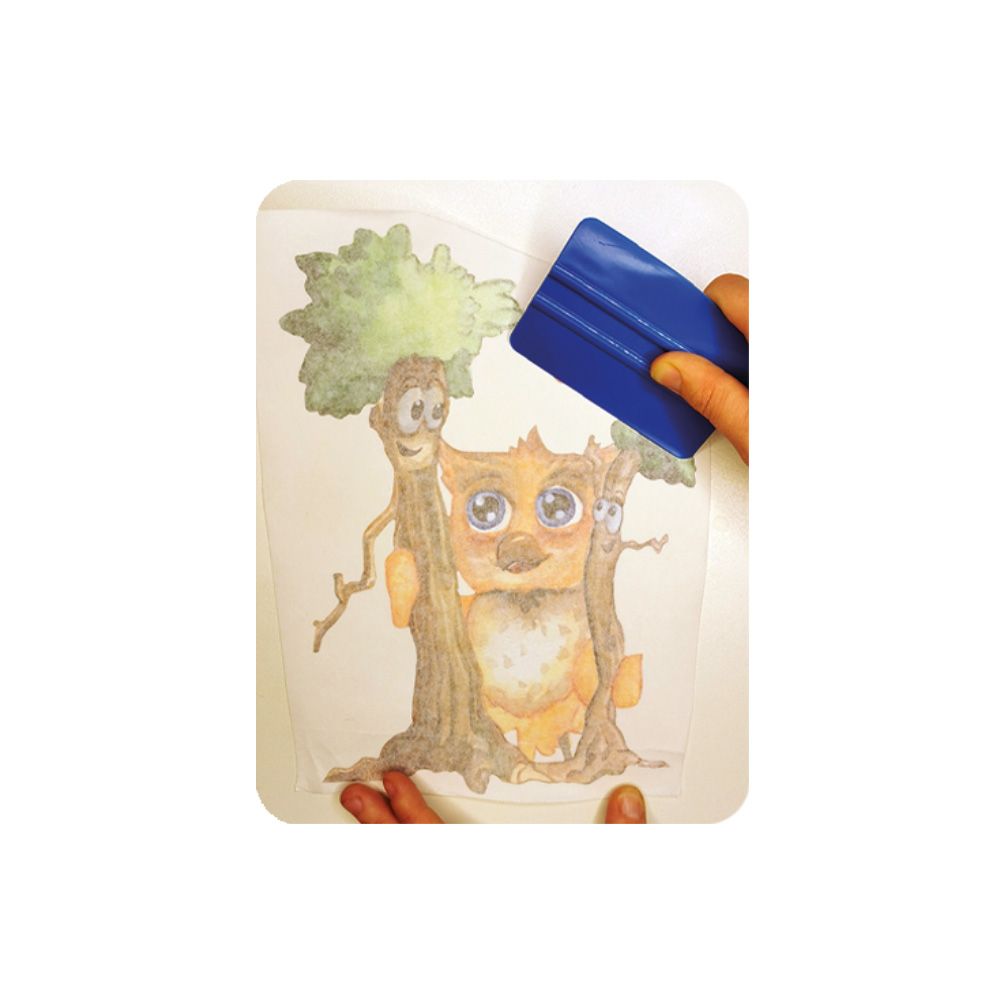
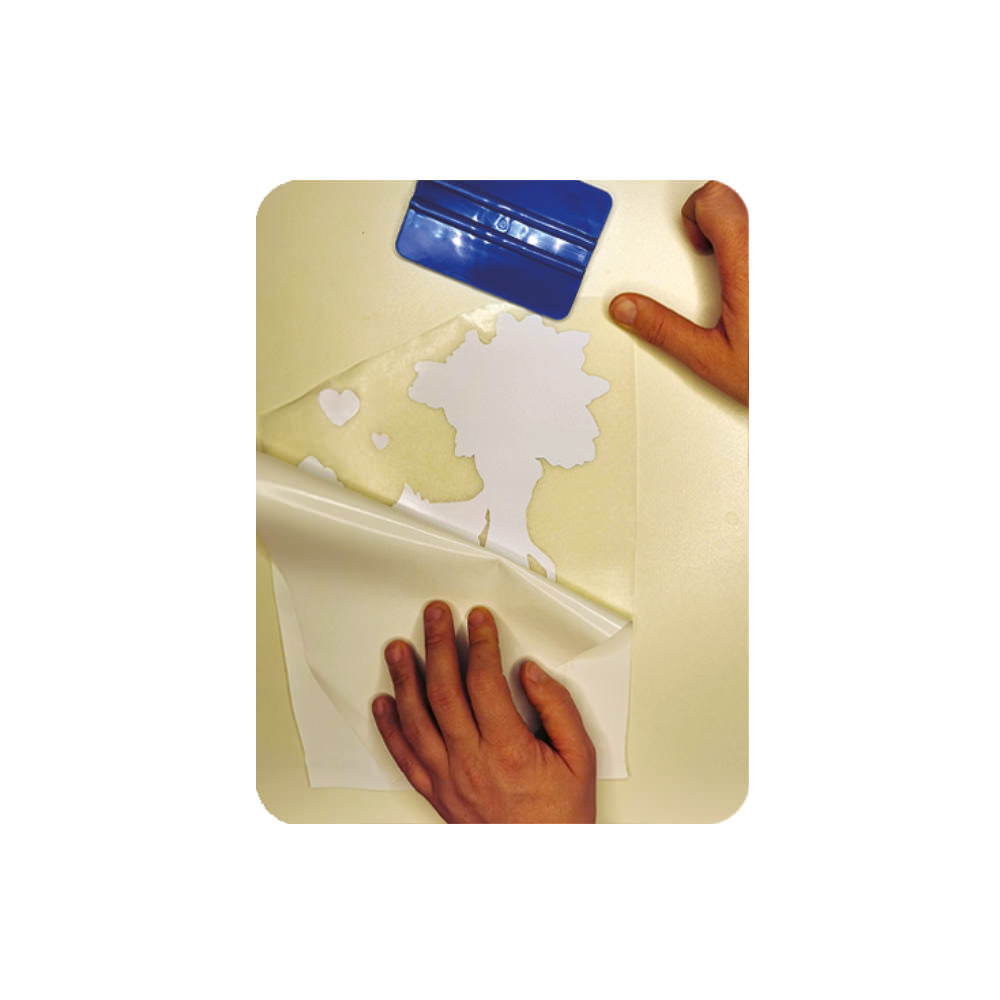
The transfer film (or transfer paper) is a transparent, slightly adhesive film that sits on top of the design and holds the wall decal in place during application. It allows the entire design to be transferred to the wall. After application, the transfer film is carefully removed, leaving only the decal on the wall.


1. Prepare the wall
Make sure the wall is clean, dry, and free of grease and dust.


2. Crop the motif
Cut the wall decal or motif to size with scissors. Briefly press or squeegee the transparent transfer film firmly onto the motif.


3. Remove the sticker from the backing film
Turn the wall sticker with the motif facing down and peel off the white backing paper at a shallow angle so that the adhesive surface of the sticker is exposed.
The motif is then only on the transparent transfer film / transfer paper.


4. Run to the wall
Position the sticker (with the transfer film) on the wall and press firmly or rub evenly with a squeegee or similar.


5. Remove the transfer film
Now peel off the transfer film evenly at a flat angle.
If the motif doesn't come off the transfer film in one spot or doesn't fully adhere to the wall, simply rub it firmly again along with the transfer film.


6. Rub the edges firmly
Once the motif is on the wall, check the edges again and, if necessary, rub it in with your finger. Optionally, you can gently increase the adhesive strength with a hairdryer and rub it in again.
Important instructions
- Make sure the wall surface is clean, dry, free of grease and dust.
- Renovations should have been completed at least 3-4 weeks ago so that the walls have had enough time to dry out.
- Walls painted with latex or silicone paints are unsuitable because they have a non-stick surface.
- Also less suitable are very coarse woodchip wallpapers, strong textured and velour wallpapers.